欢迎来到江南电竞app官网
网站!

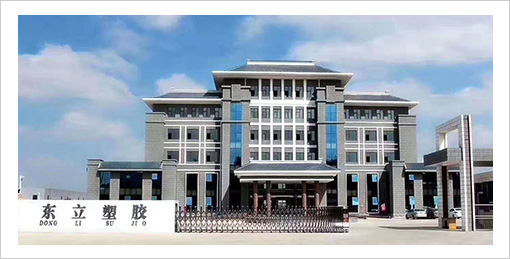
我们是一家从事PVC、PE给排水工程管道、特种行业塑胶管道和排水用大口径滚塑检查井系列产品研发、生产、销售和服务为一体的综合性企业。
公司秉承"诚信、创新、团结、仁爱"的企业精神,始终奉行"专注品质、用心服务"的经营理念,结合完善的售后体系竭诚为您服务。
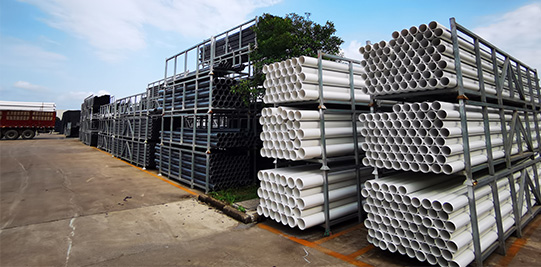
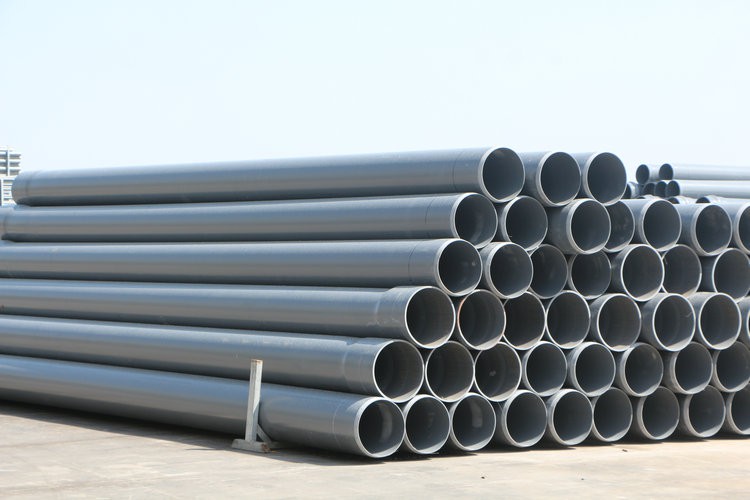
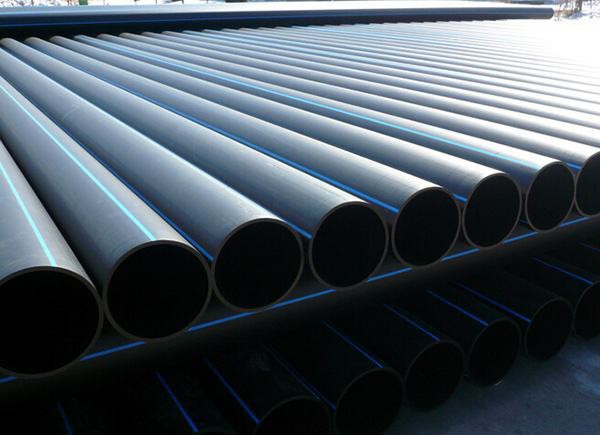
主要生产"东立"和"东方"品牌塑胶管道,主要产品包括五大系列十六种产品,规格齐全,产能庞大、供货及时,设备先进、质量稳定,服务优良、满足客户的需求。
技术力量雄厚,检测手段完备,公司现拥有56条先进的高速挤出机和15台高速注塑机,年生产塑胶管材、管件8万余吨。
产品辐射全国,形成了稳定的客户群和完善的营销网络,深受用户好评。愿与各界朋友真诚合作,携手并进,共创美好未来。